Read this article and the entire recipe from

Ingredients:
For Brine
- 2 cups water (+ more later)
- 1 cup Nature’s Flavors Organic Lemon Flavor Syrup
- 1 tbsp sea salt or kosher salt (NOT regular table salt or it will be overly salty)
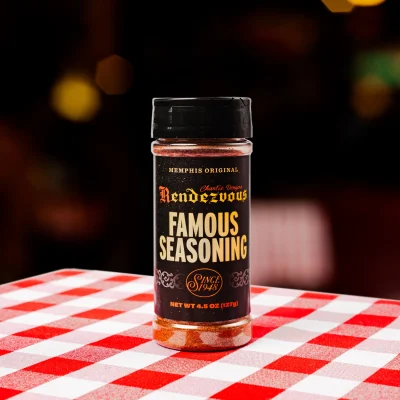
- 1 1/2 tbsp Charlie Vergos Rendezvous Famous Seasoning
- 1/2 tsp minced garlic
- (1) 12oz can light beer (or you can substitute with white wine, ginger ale, chicken broth or white grape juice)
- 5-6 lb. whole chicken, giblets removed (you can discard or cook and eat the giblets, it also makes a good gravy!)
- 4 cups ice
For Roasting
- You will also need one extra 12oz can light beer at room temperature and a beer can chicken holder for roasting chicken is recommended.
For Lemon Oil Rub
- 2 tbsp olive oil (I used Olivo Amigo Extra Virgin)
- 2 tbsp Nature’s Flavors Organic Lemon Flavor Syrup
For Dry Rub Seasoning
- 2 tbsp light brown sugar
- 2 tbsp sea salt
- 1 tsp smoked paprika
- 1 tsp ground cumin
- 1 tsp black pepper
- 1 tbsp
- Charlie Vergos Rendezvous Famous Seasoning
- 1 tsp garlic powder
- 1 tsp ground sage
Instructions:
- First, make the base for brine: Add all brine ingredients, except beer, chicken, and ice (using only the 2 cups water) to a medium sauce pot and heat to boiling, stirring occasionally.
- Remove from heat and transfer mixture into a large stock pot, then add ice and stir until dissolved. Add cold water until a little over half full and give it a quick stir.
- Gently add chicken into the brine mixture, then add more water or beer just until chicken is covered. Cover and place into refrigerator for at least 3-4 hours.
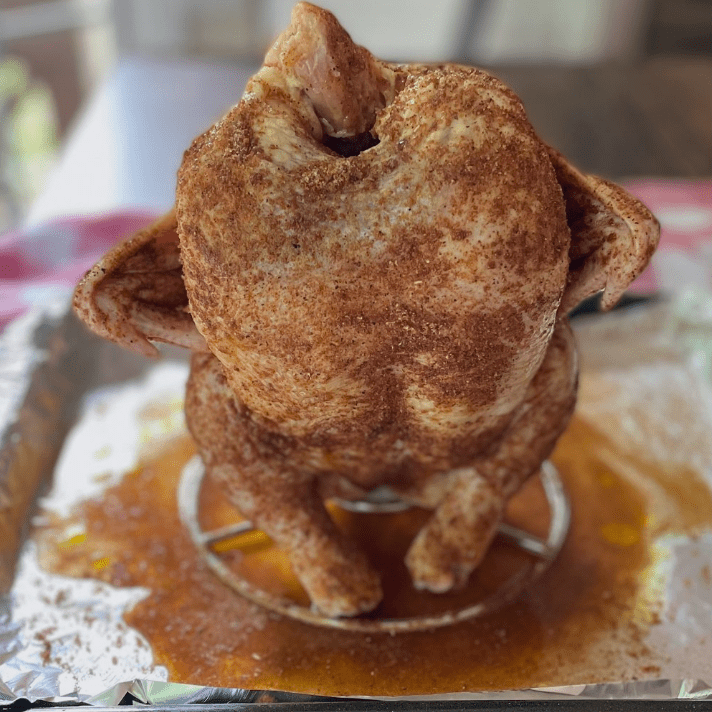
- Prepare a roasting pan by covering bottom with heavy-duty aluminum foil and place beer can chicken holder in center. Open the can of beer and pour out about 1/4 of beer in center of pan, then place can in holder.
- Preheat oven to 385℉ / 196℃ and remove any extra racks, leaving only the very bottom position one to cook on.
- In a small bowl, stir together the olive oil and lemon syrup.
- In a separate small bowl, whisk together seasoning dry rub until well blended.
- Remove chicken from brine mixture and pat dry with paper towels. Brush or rub olive oil/lemon mixture all over chicken, then rub on dry seasoning all over, even under breast skin. If desired, use a knife to cut a small slit on each side of skin to tuck wings into. (This will help prevent wing tips from overcooking.)
- Place chicken on lower oven rack and roast for 80-105 minutes or until chicken reaches an internal temperature of 165 or higher, when checked in the thickest part of the breast. If desired, place a loose piece of aluminum foil over chicken to prevent further browning/charring. Personally, I love a crispy, charred skin!
- When removed, let rest for at least 15 minutes before slicing or serving.
- Feel free to serve with fresh lemon slices to squeeze on for a little added bright citrus flavor. I paired this with green beans and sweet potato casserole for a nice balance.
Notes:
Do I need to brine my chicken before roasting? No, but brining will help yield a more flavorful and juicy chicken. If you don’t brine, the end result may be dry and lacking flavor.
Why does chicken need to rest before slicing? After removing chicken from oven, it continues to cook during the resting period. It is critical that you do not slice or puncture chicken during this time to allow it to finish and seal all the juices and moisture in. Normally, for smaller chicken cuts, the resting period would be shorter, but this is a large whole chicken that needs to rest longer. If you are worried about it getting cold on the outer parts, place a loose piece of aluminum foil around chicken during the resting period.


